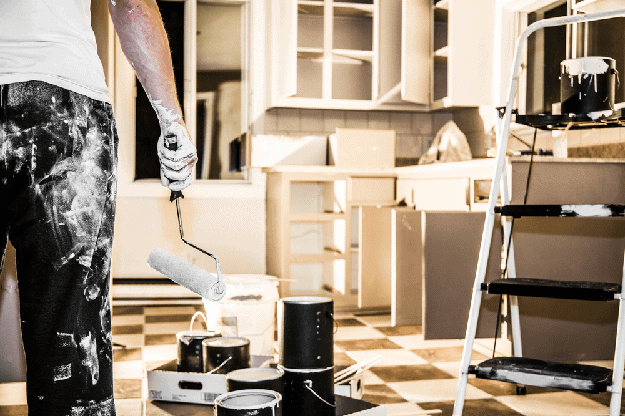
The easiest and most cost-effective way to update your kitchen or bathroom is to apply a fresh coat of paint to the cabinets. Painting cabinets can be a tedious process; however, if done correctly, the results bring long-lasting satisfaction.
If you are painting your kitchen cabinets, you will need to have a makeshift kitchen for a few days until the job is complete. The goal is always to complete a cabinet painting project in a week or less. It would be a little difficult to live without the full functionality of your kitchen for more than a week.
Getting Ready
All cabinet doors, drawers, and hardware should be removed. This makes the painting process easier because you don’t need do as much taping and tedious painting. The interior of the cabinets usually is not painted, so you don’t have to remove their contents. However, if you’re sanding the cabinets’ facing, the dust will get inside, so you may want to empty the contents.
It’s important to label where the cabinet doors and drawers go so you know where to reinstall them. Failure to do so is a common mistake made by amateurs when painting cabinets. Place the hardware in a plastic bag and mark the bag where the hardware should be re-attached. Countertops and appliances should be completely masked off with painter’s tape. The floor needs to be covered to prevent dust or paint from spreading to the rest of the house.
Prepping the Cabinets
The most important part of cabinet painting is surface preparation. When it's done wrong, you'll have problems with adhesion. If the paint fails to adhere due to improper surface prep, you will have to strip everything and start over.
Stripping Old Paint
In most cases, stripping is not needed. Just sand the painted surface to scuff it up and apply good quality paint over it. You can also apply primer as an option to avoid stripping paint. Stripping paint is a long messy process that should be avoided. One would usually only strip if they plan to stain instead of paint.
Clean Thoroughly
All surfaces must be cleaned to remove any dirt and grease. Paint does not bond with greasy surfaces. Cabinets located above a stove and below the sink need to be cleaned thoroughly as they usually contain the most dirt. Cleaning agents to use include liquid deglosser, denatured alcohol, de-greasers, or TSP (trisodium phosphate).
Sanding
Sanding takes off the glossy top layer, exposing the bare wood so primer and paint can adhere to the cabinet surface. Medium grit sandpaper is good enough to remove glossy lacquer. An electric sander works well too. It is more effective and efficient than sanding multiple cabinet doors by hand.
For corners or narrow panel parts, use folded sandpaper. If possible, perform all the sanding outside or away from where you’ll be painting. If any areas of the cabinets are damaged, repair them first before continuing.
- Dents and holes can be filled with a wood filler.
- Cabinet doors with recessed panels need to be caulked. The cracks along the panel edges become noticeable when painted.
- If you’re replacing your hardware, you might have to use wood filler for holes that don’t line up with the new hardware.
Remove Dust
Always remove dust from surfaces after sanding each cabinet door or drawer. Clean all surfaces with a shop vac with a brush attachment to remove heavy dust. Follow that up with a damp rag or tack cloth. Everything should be dust-free before painting.
Primer Is Critical
Primer provides a suitable surface for the paint to stick to, while also covering imperfections. Primer also seals the surface of the cabinets before applying paint. Only one coat of primer is usually needed unless the new color is very different than the current color, in which case two coats are recommended. Types of primer that can be used are latex, shellac, or an oil-based primer. You want the primer to dry hard and prevent stains from bleeding into your paint.
Let’s Paint!
A high-quality paint will give a smoother, longer-lasting finish. There are special paints specifically for painting cabinets. Make sure your paint is acrylic, not vinyl. Acrylic latex-based paint is durable and easy to clean up. A semi-gloss or satin finish should be used for kitchen cabinets. Gloss finishes may show dents or mistakes when applied.
When painting cabinets, apply a coat of paint to the backside of the cabinet door. When it is completely dry, flip it over and paint the front. Begin painting any detailed areas, then continue with the larger flat surfaces. Once everything dries, you can reassemble the cabinets and enjoy your room again!
Call the Pros
Don’t have time for another DIY project? Nervous about the DIY results? Then hire the pros for the highest quality cabinet painting. Contact Walla Painting to have your cabinets expertly painted with a smooth finish. Our experienced painters will have your kitchen or bathroom looking fresh again.
Comments are closed.